
Learn how to deploy a simple browser-based web message application written for x86 with ASP.NET Core and SignalR library using source code shared on GitHub. The same source code is used to deploy on Power with OpenShift, and Fedora on x86. Full guided instructions are provided.
Deploy .NET Message App on Power – GUI
Deploy .NET Message App on Power – CLI
Deploy .NET Message App on x86 – CLI
Deploy on Power – GUI
Deploy on Power – CLI
1. log in to OpenShift Environments
All Command Line Interfaces are expected to be on the Bastion node terminal with cecuser unless explicitly mentioned.
If you are a Windows user, Putty is a great terminal to use.
For Mac users, the iterm2 terminal is available to you.
Section 1. Login to OpenShift RHEL Bastion
Using your preferred terminal method (iterm2, xterm, Putty), connect to your environment via SSH using the appropriate IP, cecuser and password for your environment.
Section 2. Login to OpenShift Console
Point your browser to your OpenShift Console.
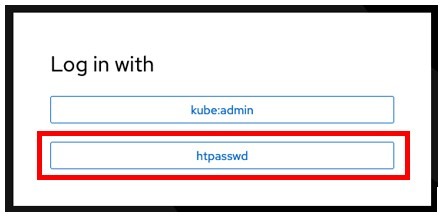
Click on the htpasswd option:
Add your user and password and Click login.
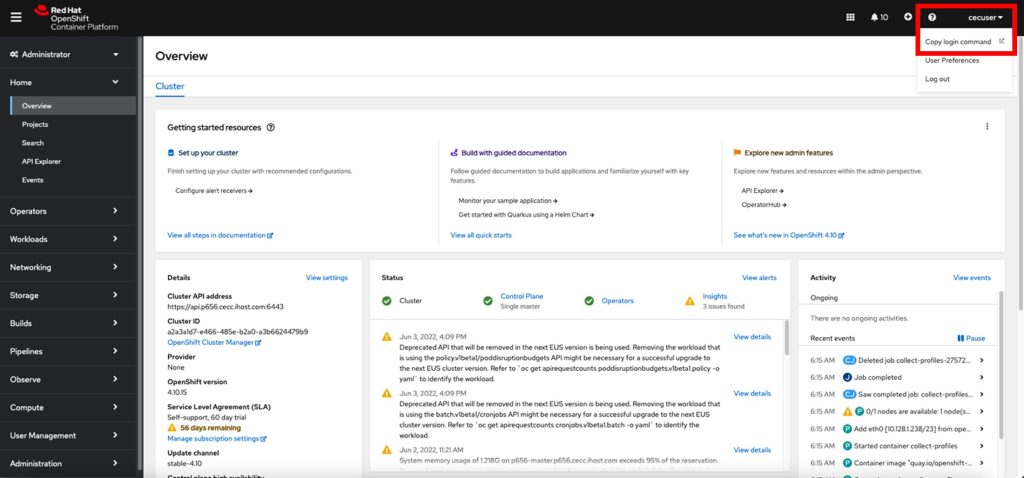
Section 3. Copy the login command for CLI use.
On the top right side, you will see the cecuser drop-down; click on it and then “Copy login command.”
Once again, click on the htpasswd option:

Add your user and password contained in step 1 and Click log in.
Click on Display Token on the top left.

You can use the oc login command whenever your Authorization is expired. You may need to use the API token to log in to the registry.
Copy the above “oc login” command and paste it into your Terminal (Putty, or iTerm)
Important: You may need these steps more than once during this training.
2. Deploy the .NET Messaging Application
This part of the demo will guide you through creating a new project, cloning the code hosted on GitHub, and building the .Net application using S2I via the command line interface. This part
of the demo will be completed using the cecuser user.
Section 1. Add the .Net Builder image.
Follow the below steps to add the .Net 7 builder image to OCP.
Log in to the OCP Bastion Server as the cecuser. Check you have the correct user. The whoami command should return cecuser.
whoamiSwitch to the OpenShift project.
oc project openshiftEnable .Net S2I for ppc64le
oc create -f https://raw.githubusercontent.com/redhat-developer/s2i-dotnetcore/master/dotnet_imagestreams_ppc64le.json --as system:adminSection 2. Deploy the application using Source to Image
Log into the OCP RHEL Bastion using cecuser credentials and install the git command line.
sudo dnf install gitCreate a new OpenShift Project
oc new-project signalrchat --description="Simple ASP.NET example using SignalR library & Power" --display-name="signalrchat"Creating the Application
oc new-app --image-stream="openshift/dotnet:7.0-ubi8"~https://github.com/paulchapmanibm/SignalRChat.git
Track the progress of the build
oc logs -f bc/signalrchatOnce the build is complete, you will see “Push successful”. At this point, the resulting image has successfully been pushed to your registry. Check the status of your application:
oc statusCreate a Route. An OpenShift Container Platform route exposes a service at a hostname so external clients can reach it by name. To create an external route to your new application, expose the application service.
oc expose service signalrchatView your new route
oc get route3. Test the application
Section 1. Verify the application is running, browse the website and test the counters. Optionally, complete the survey.
Verify the Application is Running. To view your new application, paste the route location that you copied (in the previous section) into the address bar of your web browser and hit enter.
echo "The url to your new application is $(oc status | grep "http://signalrchat-signalrchat" | awk '{print $1}')"Copy the above link to the game and paste it into your favourite browser to start playing the game.
!Add Youtube using the application
4. Wrap up
We believe in Sustainability and Cloud without lock-in. Customers may benefit from Cloud with greater sustainability, scale, security, performance, and economics when consolidating existing .NET applications from x86 to Power Systems.
You should now understand how ASP.Net Core is used to power many websites, even games. You have seen how easy it can be to deploy a basic web messaging service on Power using the same source code written on and for the x86 platform.
Congratulations, you have added ppc64le S2I functionality to OCP and used this to simplify the deployment of an ASP.Net Core with SignalR library web messaging service written for x86 direct from GitHub to your OCP using the command line interface.
This lesson plan takes 1 minute and 15 seconds to deploy the application when scripted.
============================================
Deploy on x86 – CLI
It’s assumed that dotnet is already installed for your Linux distribution. I have used RHEL and Fedora with the below.
Change to your home directory.
cdCreate build directory
mkdir buildChange to the newly created Directory
cd buildInstall git
sudo dnf install gitClone the application source from GitHub
git clone https://github.com/paulchapmanibm/SignalRchat.gitYou should see a new folder created:
ls -laChange to the new application directory
cd SignalRchatCopy the ppc64le docker file, which will be used to build the application container.
cp Dockerfile.x86 DockerfileCopy the ppc64le csproj file, which will be used to build the application container
cp ./SignalRChat/SignalRChat.csproj.x86 ./SignalRChat/SignalRChat.csprojBuild the application container using Podman
podman build . -t signalrchatConfirm that both dotnet and application containers are available
podman imagespodman run -p 8080:80 signalrchatThe messaging application is installed from source code in under 90 seconds.
Get in touch using social media
Leave a Reply